Okay so Orange Part 2. The more "avant garde" side of orange. Ugh did I just say that? Ewwwww. I hate myself. ANYWHO... doing "fashiony" orange work can be somewhat difficult... what with the addition of any black to the look you can end up looking like you're a walking Hallowe'en costume store horror story. Not that this is a bad thing... but it's not like you want to be the weird girl who can recite the entire Nightmare Before Christmas movie or starts decorating for Hallowe'en two months prior or the one who purchases Hallowe'en decorations after the date not just because they're on sale for NEXT year but actually to decorate her room all year................. shut up... stop judging me.
SO... I have to be honest here... since I stopped working for a company that ENCOURAGED extravagant makeup and bold looks and started working for companies that controlled everything down to the colour and size of your earrings, I haven't been doing a lot of creative makeup. I used to do it for fun... maybe with age I've become less creative or perhaps I've just been uninspired? As I've made some changes in my life recently that involve me pursuing a creative career and NOT having to worry about my hair colour changes or clothing choices I've felt inspiration return!
So without further a dude: my creative Orange makeup (duuuuude)
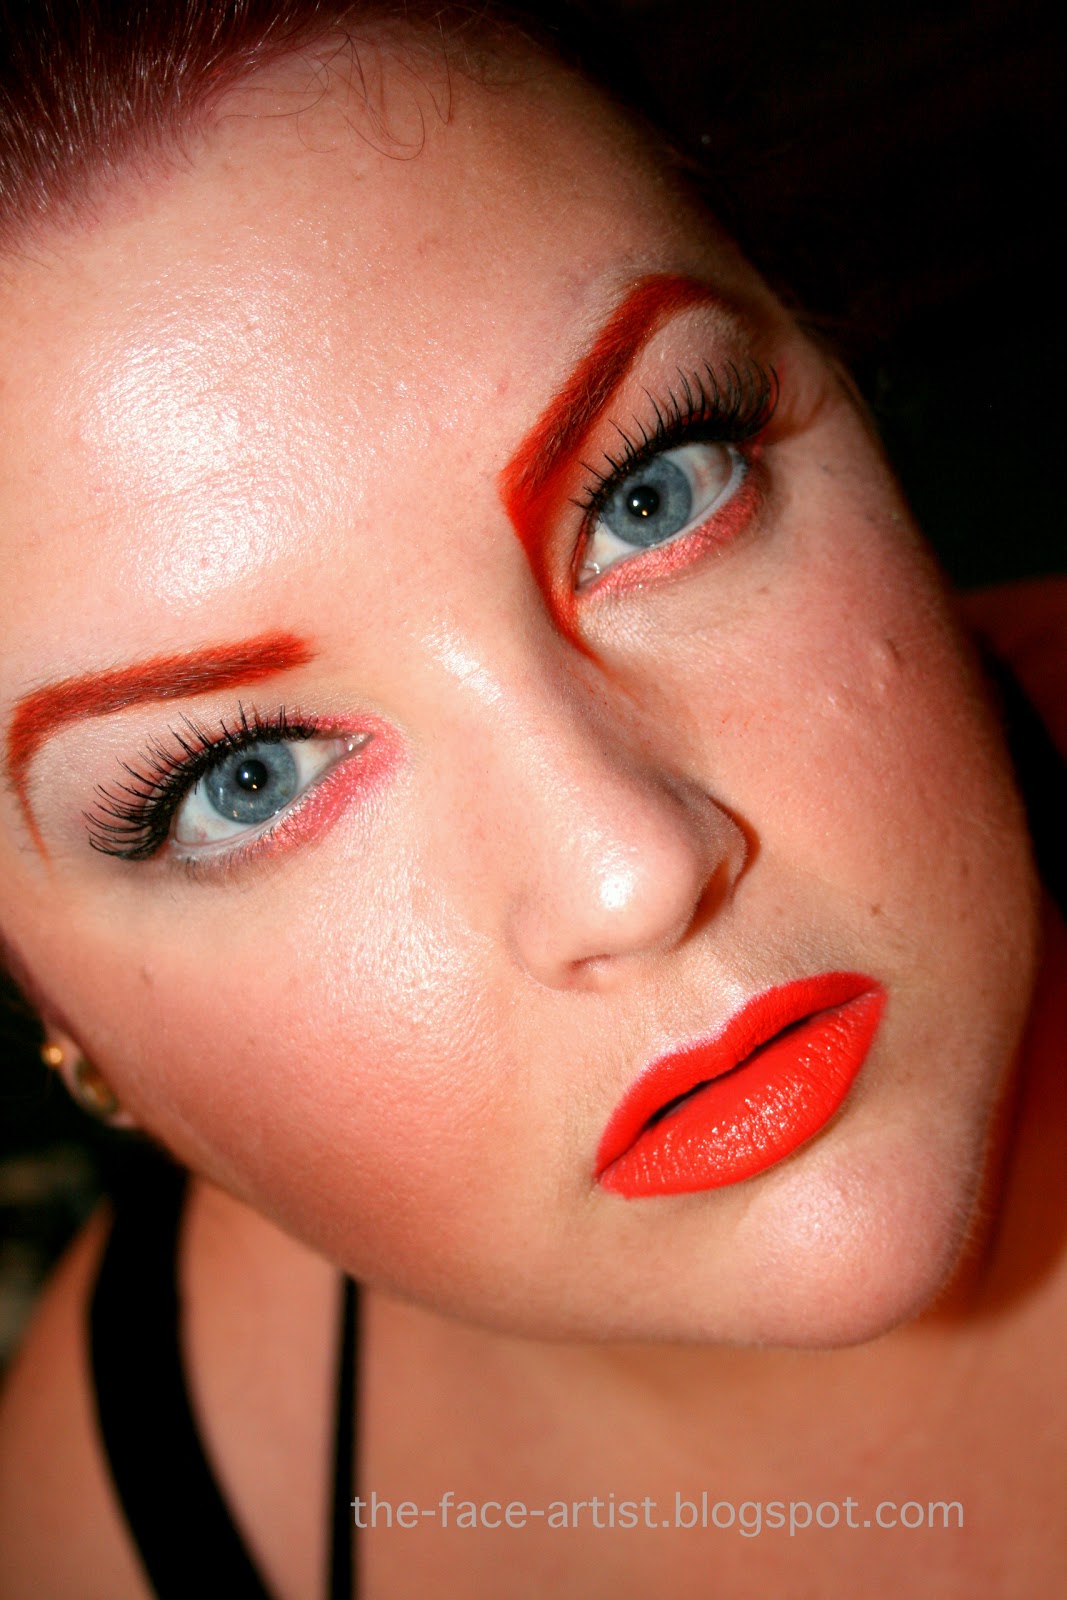
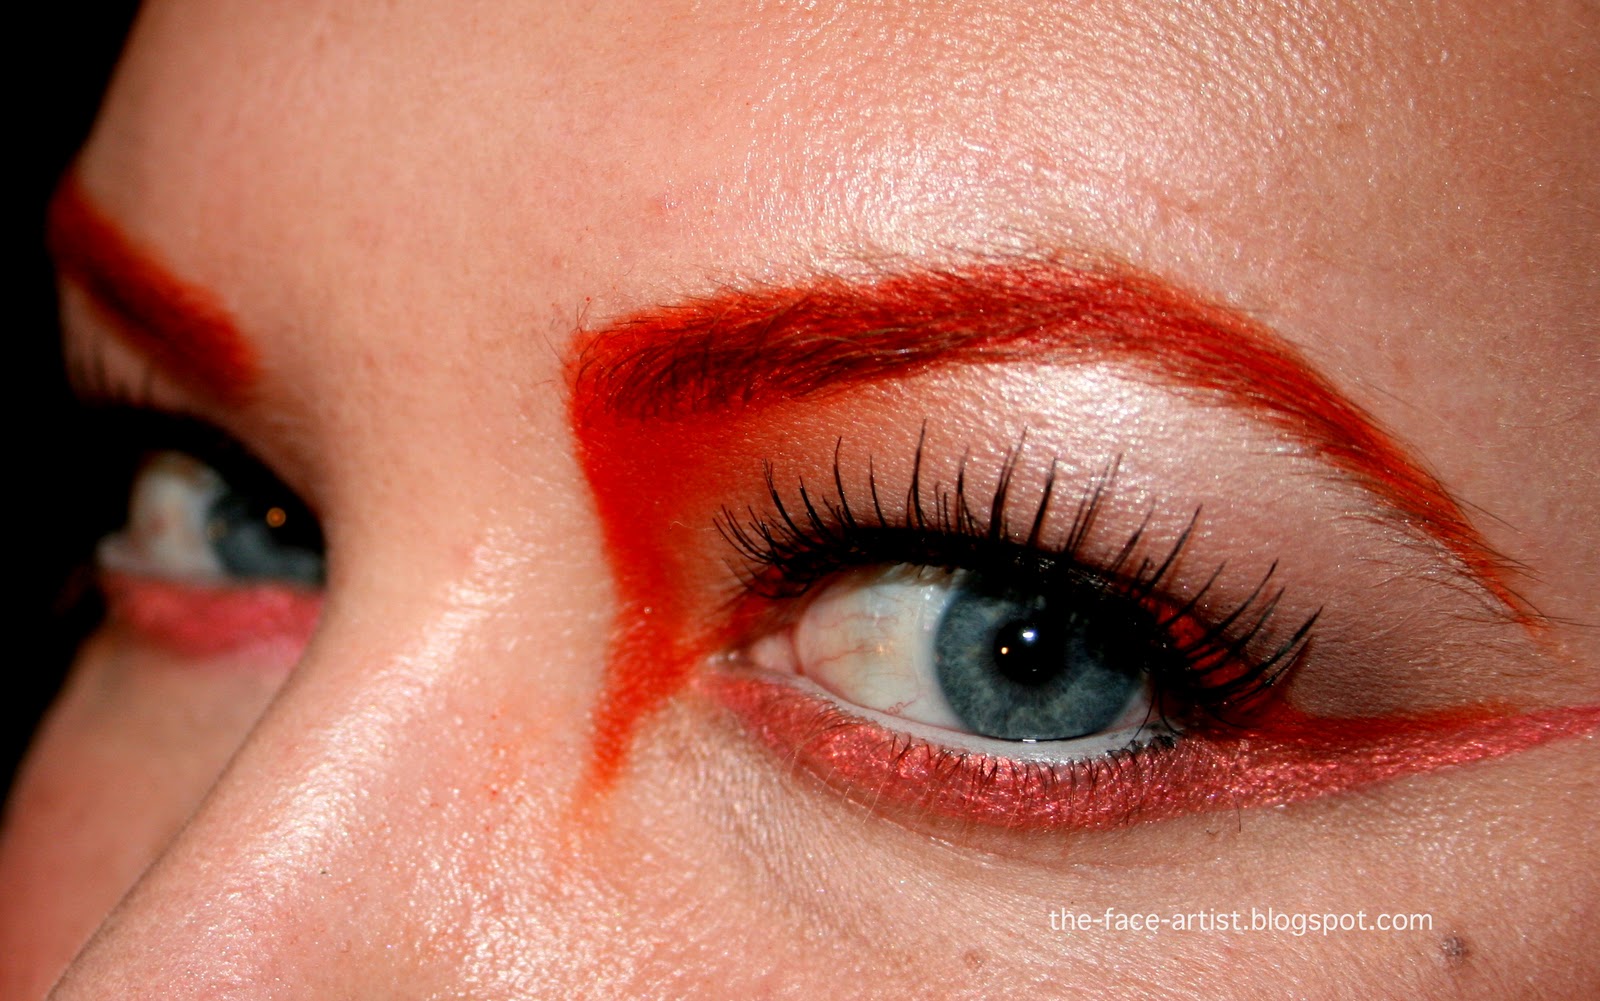
When it comes to avant garde makeup I tend to prefer something striking but at the same time simple. Clean lines, perfected skin and a lot of asymmetry. In my opinion it leads to a look that while being bold and eye catching it's also a little bit more organic looking.
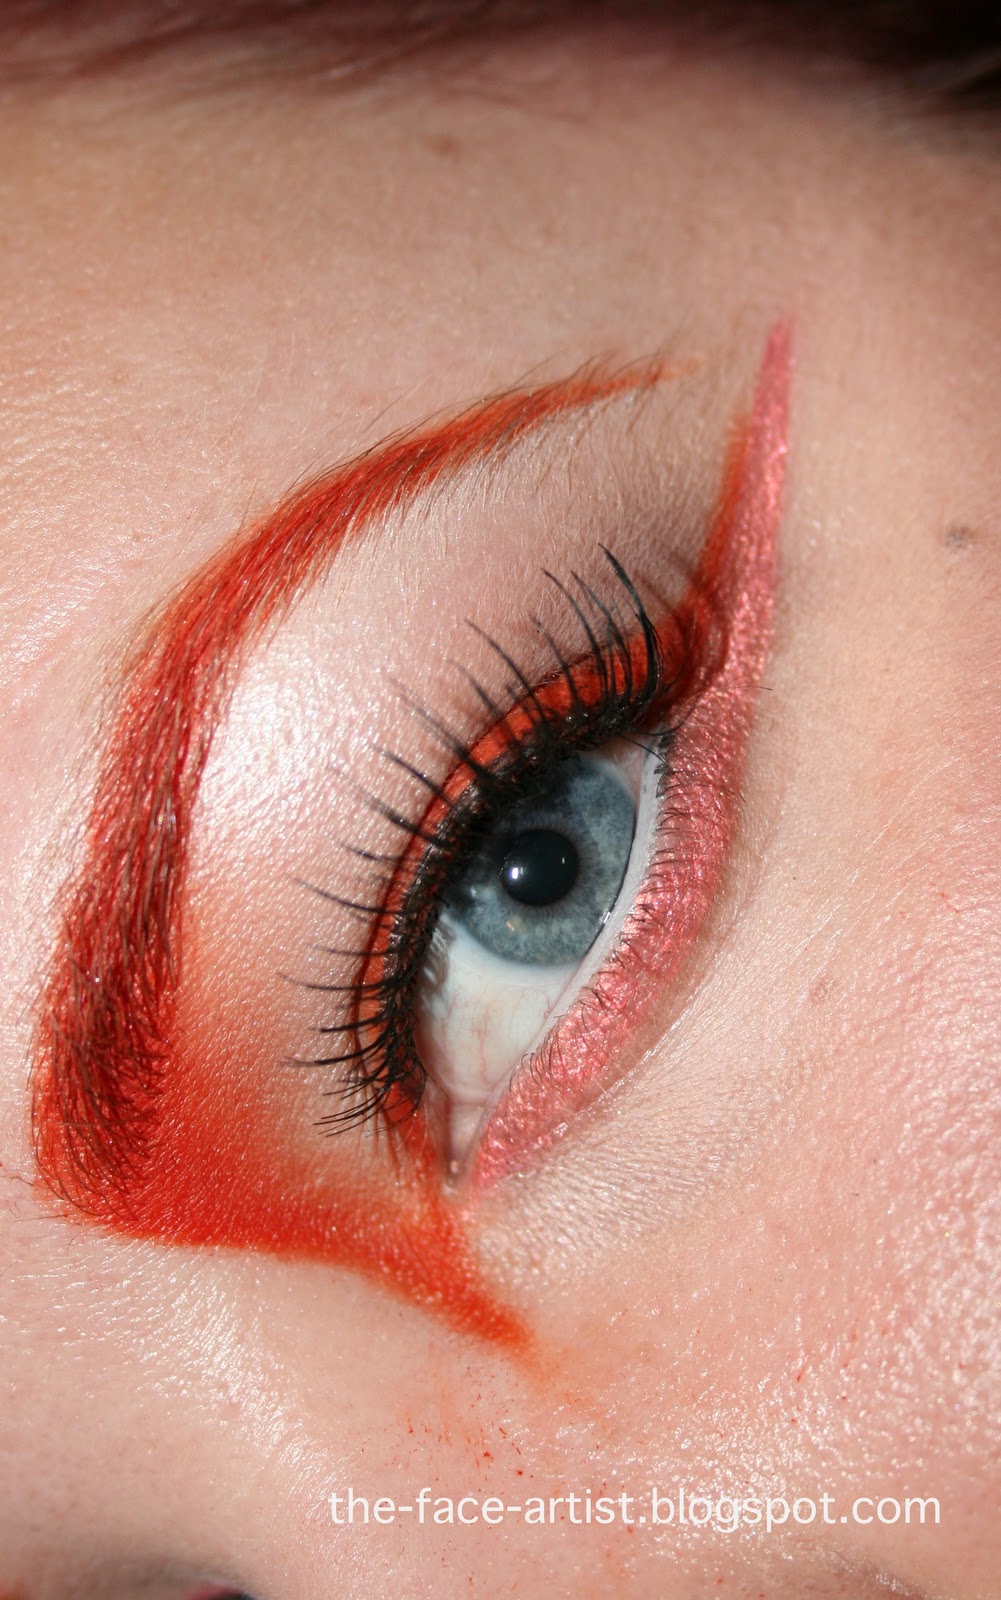
I've toned down my natural eyebrow colour (which isn't particularly dark to start with) using a white eyeliner pencil just to coat the hairs. I then used an orange eyeshadow to create the strong shape of the brow as well as the graphic eyeshadow shape.
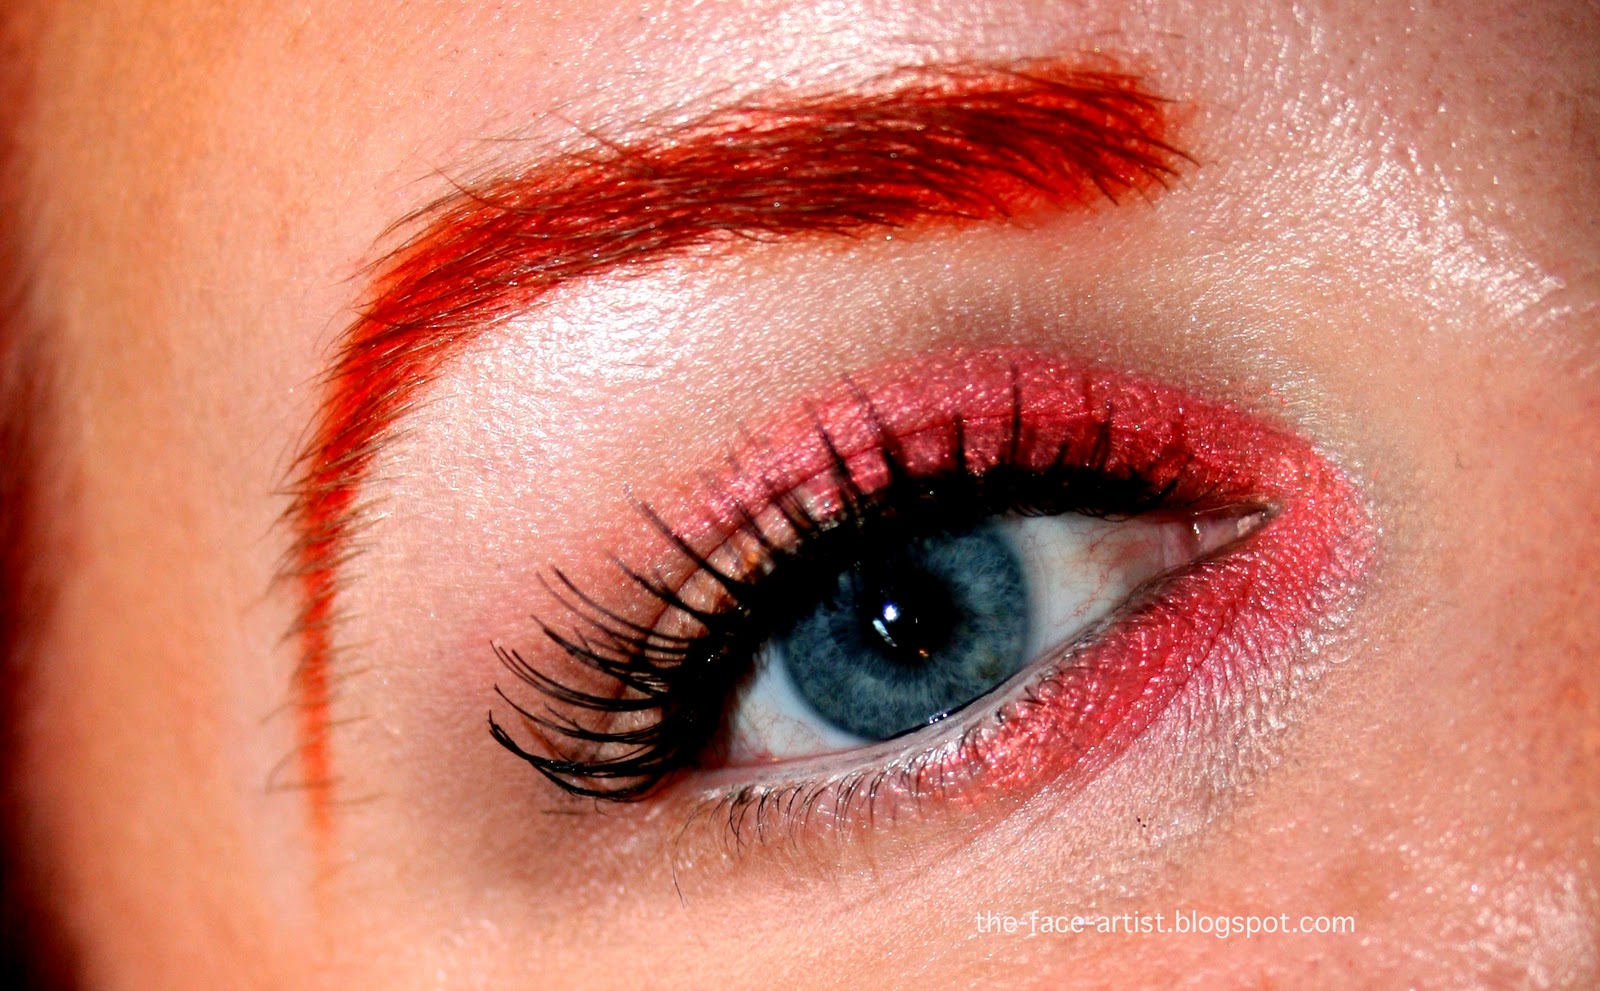
On the less "statement" eye I've used a pigment wet that is a pale orange that reflects pink and gold and neon orange in different lights. The same colour is used on the lower lash line of the "statement' eye. On both eyes a medium toned warm brown/red colour is used as a wash in the crease to add some shadowing to the socket line.
Both eyes are finished with a thin line of black liner to help adhere the false lashes, white liner on the waterline as well as a bright white shimmering highlighter under the newly orange brows.
Everything is brought together with bronzed cheeks, a peachy blush and bright orange amped up lips.
This look is simple, exciting and just the beginning of my creative makeup looks for this blog.
I hope it can inspire you to try something different even if it's only to wear for a grand total of 5 minutes like I did.
Products used:
Face:
Lush Colour Supplement - light yellow
MAC Prep and Prime Skin Base
Benefit Erase Paste - Fair
MAC Beauty Powder - Smooth Harmony (limited edition but any warm/orange toned bronzer would work)
Benefit Coralista Box Of Powder
MAC emphasize highlight powder
Eyes:
Benefit Stay Don't Stray primer
MAC Fascinating eye kohl
MAC eyeshadows in: Orange, Red Brick, Mulled Cider, Dazzlelight
Make Up For Ever Star Powder - 0953
MAC pigment - White (pro)
Stila Liquid Eyeliner (this stuff is the definition of meh... it's just meh)
Rimmel Lash Accelerator
Ardell 116 Lashes
Lips:
Prestige Lipliner - Poppy
MAC lipstick - Morange
Thanks so much for reading!
See you soon!
KC
No comments:
Post a Comment